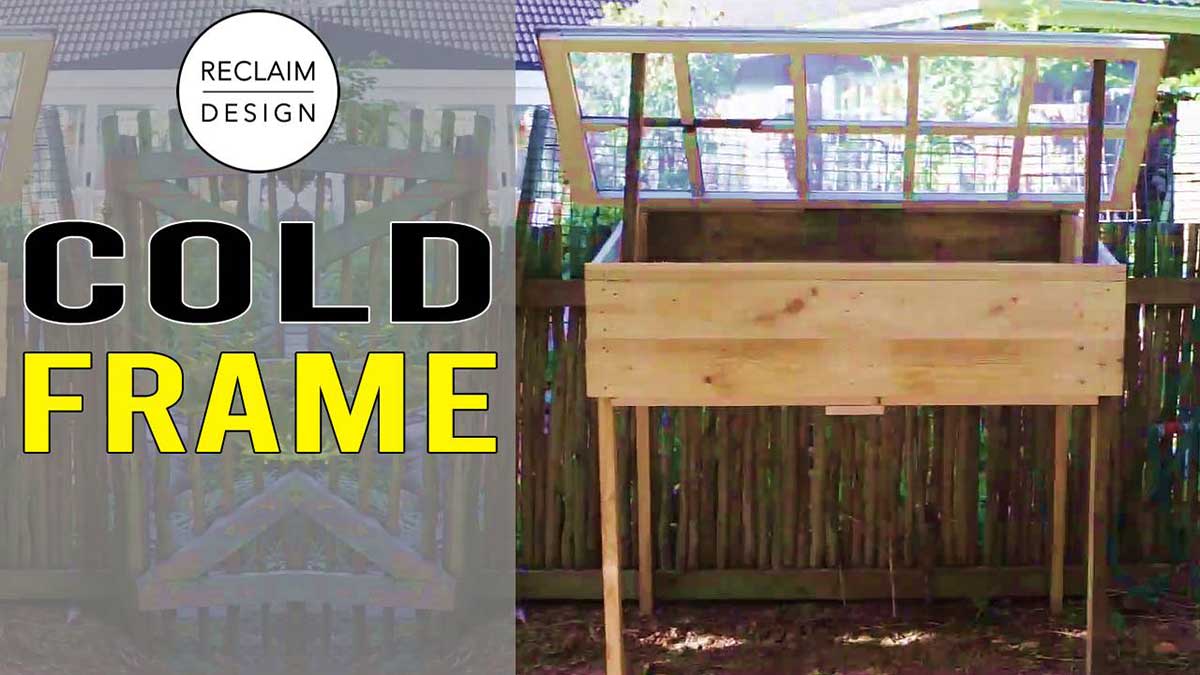
Building a small cold frame greenhouse from reclaimed wood is a enjoyable and sustainable weekend project. Unlike some quick tutorials, this project requires time and dedication. Expect to spend a full day on this project. So, grab your favorite drink, sit back, and enjoy the process of learning and making.
For a step-by-step video tutorial on how to make your own cold frame greenhouse with reclaimed wood, check out our video tutorial on YouTube.
What You’ll Need
Prepare a variety of tools to streamline the construction process. Here’s what we used, but feel free to adapt based on what you have:
- Planer/thicknesser
- Table Saw
- Miter Saw
- Drill Press
- Drill
- Impact Driver
- Metal Detector
Materials
We predominantly use reclaimed wood for our projects, but feel free to use any material of your choice. Here’s what we used:
- Pallet Wood
- Reclaimed Roof Trusses
- Reclaimed Window, with intact glass
- Chipboard Screws
- A Piano Hinge
While stainless steel screws and hinges are ideal for outdoor projects like this, we worked with what we had due to COVID-19 restrictions at the time of making. Embracing constraints can inspire creativity.
Measurements For The Cold Frame Greenhouse
- x Back Legs @ 110cm (43.31 inches) x 4.5cm (1.77 inches) x 3.5cm (1.38 inches)
- 2x Front Legs @ 99cm (38.98 inches) x 4.5cm (1.77 inches) x 3.5cm (1.38 inches)
- 6x Side Boards @ 54cm (21.26 inches) x 13cm (5.12 inches) x 2cm (0.79 inches)
- 6x Front And Back Boards @ 120cm (47.24 inches) x 13cm (5.12 inches) x 2cm (0.79 inches)
- 1x Backer For Hinge Attachment @ 120cm (47.24 inches) x 2.5cm (0.98 inches) x 2cm (0.79 inches)
- 1x Front Lip @ 120cm (47.24 inches) x 3.5cm (1.38 inches) x 2cm (0.79 inches)
- 3x Bottom Boards @ 120cm (47.24 inches) x 13cm (5.12 inches) x 2cm (0.79 inches)
- 2x Gap Fillers @ 109cm (42.91 inches) x 6cm (2.36 inches) x 2cm (0.79 inches)
- 2x Supports @ 80cm (31.50 inches) x 3.5cm (1.38 inches) x 2cm (0.79 inches)
Step-by-Step Instructions
Begin by running a metal detector over the reclaimed wood to remove any metal pieces.
Cut the roofing trusses to size for the legs using a table saw and miter saw. Plane the boards to tidy them up and ensure uniform thickness and straighten the board edges using a jointer sled on the table saw, then cut to final size.
Cut the side boards to length using the miter saw. Create a 10-degree angle along the length of two side boards for the top of the greenhouse.
Cut a 10-degree angle along the tops of the legs to accommodate the reclaimed window.
Mark and drill countersink holes on the boards for screws.
Fix the side boards to the legs, ensuring flush alignment and attach the back boards, then the front boards and front lip. Then, install the bottom boards, leaving even gaps for drainage.
Reinforce the bottom boards with brackets as needed and attach the backer for hinge attachment.
Finally, attach the reclaimed window to the backer using the piano hinge.
Why Do You Need a Cold Frame Greenhouse?
A small greenhouse, also known as a mini or micro greenhouse, is perfect for growing vegetable seedlings. Especially in times like these, it’s a smart way to reduce trips to the store and boost your immune system with fresh, home-grown produce.
The compact size of the greenhouse makes it suitable for even small spaces, and its waist height design ensures comfortable access without straining your back.
Happy gardening!
About the Authors
Michael Martin and Nikki Rixon started their business Reclaim Design in 2013. Subscribe to their YouTube channel for more videos filled with practical advice, eco-friendly tips, and inspiration to help you live a more sustainable life.